

R Shiny & FontAwesome Icons – How to Use Them in Your Dashboards


 Share
Share Tweet
Tweet Share
ShareIf there’s one thing that can make your dashboards more intuitive to use, it’s icons. High-quality SVG icons can further explain, or sometimes replace long sections of text, and give your applications a fresh look. The best part is – you don’t have to be an expert designer to start using icons. With FontAwesome Icons, you can start adding better-looking elements to your Shiny dashboard today!
Are your R Shiny apps slow? Try to cache interactive elements in R Shiny.
Today’s article will be short and sweet. You’ll learn how to use FontAwesome icons in R Shiny, from account registration to embedding and customizing their free icon set.
Update: The inclusion of FontAwesome icons can be achieved in a simpler way with RStudio’s fontawesome R package.


Table of contents:
- Introduction to FontAwesome Icons
- How to Use FontAwesome Icons in R Shiny
- How to Customize R Shiny FontAwesome Icons
- Summary of R Shiny FontAwesome
Introduction to FontAwesome Icons
So, what is FontAwesome? Put simply, it’s one of the largest libraries of icons used by millions of designers, developers, and content creators worldwide.
How important are icons? Explore Appsilon’s curated collection of unique R Shiny dashboard demos.
Thousands of icons are completely free of charge, and you can always upgrade to their premium plans if:
- Your app gets more than 10,000 monthly visits
- You want access to a massive library of 13,000 icons
- Want to upload your own icons
- Work as a team
There are more reasons why you might consider upgrading, but today we’ll work only with the free version.
To get started, head over to their homepage and enter your email address:

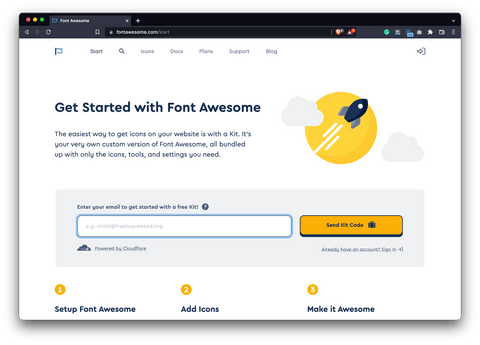
Image 1 – FontAwesome get started page
A confirmation link will immediately be sent to you and you’ll be redirected to the following page:
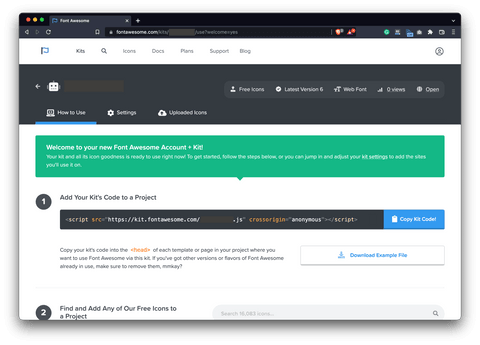
Image 2 – FontAwesome user account page
Take note of the src attribute of the script tag you see on the screen. It’s used to identify your account, and you’ll have to embed it to every R Shiny app you want to use FontAwesome icons in.
Once you’re registered, go onto the Icons tab and take a look at the endless amount of icons you have at your fingertips:

Image 3 – Icons available for free in FontAwesome
We’re now done with the setup. The question remains, how can you embed FontAwesome icons in R Shiny dashboards? Let’s cover that next.
How to Use FontAwesome Icons in an R Shiny App
Remember the script tag from the previous section? Now it’s time to use it. Create a basic skeleton for R Shiny applications, including imports, UI, servicer, and a call to shinyApp() function. Inside the ui, add a script HTML tag and copy the src attribute from the website.
Want a Shiny app now? Download a free Shiny template from Appsilon.
You should end up with something like this:
ui <- fluidPage(
  tags$script(src = "https://kit.fontawesome.com/<you>.js")
)
To add an icon to your R Shiny dashboard, simply add an i tag with a CSS class obtained from the website itself. For example, here’s how the plain HTML looks like for the user icon:

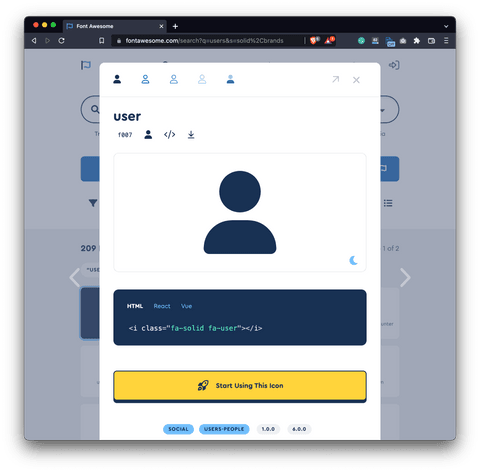
Image 4 – HTML attribute for the User icon
You should somehow resemble this <i class="fa-solid fa-user"> in R code. In Shiny, that’s done with the following code:
tags$i(class = "fa-solid fa-user")The complete dashboard code boils down to:
library(shiny)

ui <- fluidPage(
  tags$script(src = "https://kit.fontawesome.com/<you>.js"),
  tags$div(
    tags$i(class = "fa-solid fa-user"),
    tags$span("Users")
  )
)

server <- function(input, output, session) {

}

shinyApp(ui, server)
Here’s what the dashboard looks like:
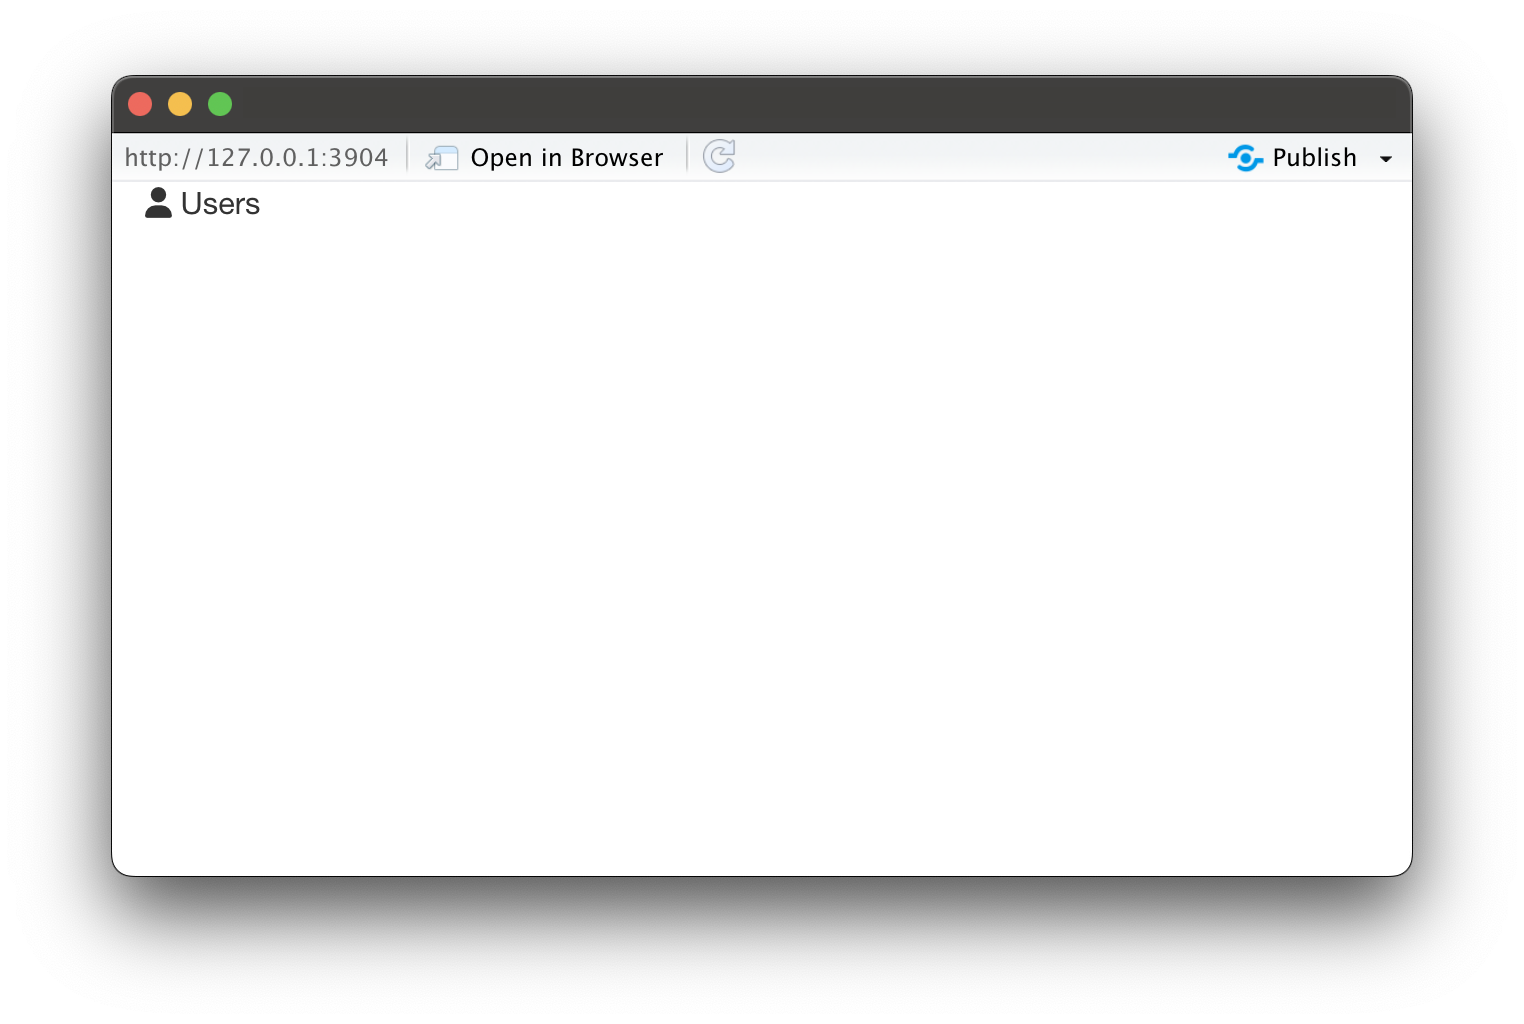
Image 5 – R Shiny dashboard with a single FontAwesome icon
It’s not technically a dashboard, since it shows a single icon and a text element – but you get the point on how to use FontAwesome icons in R.
Next, let’s see how to customize these icons.
How to Customize FontAwesome Icons in Shiny UI
Small black icons may not suit your dashboard perfectly. For example, maybe you’re building an app for a client with a blue logo and want the icon color to match. Or you want to make the icon bigger. There’s nothing you can’t do with some basic CSS knowledge.
In R Shiny, it’s best to separate CSS styles into a separate file in the www folder. For simplicity, we’ll add styles to the existing file, which is also fine if you don’t have too many elements.
Want to build a professional Shiny UI? Try adding Microsoft’s Fluent UI inputs with shiny.fluent.
To change the size of an icon, change the font-size style attribute. We’ve set it to 3rem on the second icon.
To change the color, change the color style attribute. We’ve changed it to light blue.
CSS styles before the container div are here just to display the icons inline with a bit of padding between – don’t think too much of it.
Here’s the entire application code:
library(shiny)

ui <- fluidPage(
  tags$script(src = "https://kit.fontawesome.com/<you>.js"),
  tags$head(
    tags$style(HTML("
      i { padding: 0 1rem; }
    "))
  ),
  tags$div(
    tags$i(class = "fa-solid fa-user"),
    tags$i(class = "fa-solid fa-user", style = "font-size:3rem;"),
    tags$i(class = "fa-solid fa-user", style = "font-size: 4.5rem; color:#0098f8;"),
    style = "padding:3rem;"
  )
)

server <- function(input, output, session) {

}

shinyApp(ui, server)
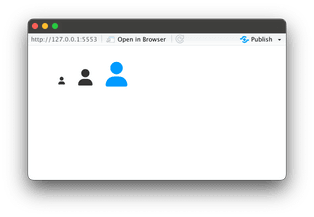
Image 6 – R Shiny dashboard with customized FontAwesome icons
You can easily take this thing further. There are a ton of premade CSS templates for FontAwesome icons available online, but this was just enough to get you started. We encourage you to explore examples on codepen.io – it’s a great place to get your creative juices going.
Summing up FontAwesome Icons in R Shiny Apps
Yes, using custom icons in your R Shiny dashboards is that simple. All you have to do is to include an external CSS file. Then, you’ll have access to many icon classes that look good out of the box. There’s no one stopping you from customizing icon size, color, and other elements if the default parameters don’t blend well with your theme.
Build professional-looking Shiny apps by using custom styling and layouts with imola and shiny.fluent.
Now it’s time for you to shine. As a homework assignment, use FontAwesome icons to reduce the amount of text on tabs, headings, and other elements. Feel free to use any icons that you like, as long as they make sense. Feel free to share your results with us on Twitter – @appsilon. We’d love to see what you can come up with.
Want to show interactive maps in your dashboards? Consider Google Earth Engine in R Shiny.
Contact Us
