

 Share
Share Tweet
Tweet Share
Share


Shiny for Python Deploy: How to Host Your App For Free on GitHub Pages

09 October 2023
When it comes to deploying Shiny for Python applications, you have options – some of which are entirely free. If you have been a developer for some time, you know free deployment isn’t always a given, especially when working with newer, more demanding tech stacks. Luckily, GitHub pages allow you to handle Shiny for Python deploy with a couple of simple steps, leaving your wallet intact.
Today you’ll learn how to go through a Shiny for Python deployment process with GitHub pages, what are some things you need to be aware of, and how to make sure the entire process goes error-free. Let’s dive in!
Make sure your dashboard looks amazing before deploying it – This SCSS guide in Shiny for Python will teach you how.
Table of contents:
- Why GitHub Pages for Shiny for Python Deployment
- Your First GitHub Pages Deployment
- Shiny for Python Deploy on GitHub Pages
- Summing up Shiny for Python Deploy
Note: This article was written with Shiny for Python version 0.3.
Why GitHub Pages for Shiny for Python Deployment
The first question you’ll likely have is – Why choose GitHub pages over any other hosting platform? We’ll provide some concrete reasons below.
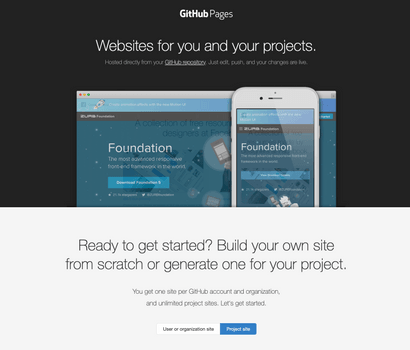
Image 1 – GitHub Pages
First and foremost, GitHub pages are free as long as you want to deploy your website/app from a public GitHub repo. We’ve made the mistake of creating a private repo for the purpose of this article and had to convert it to public in order to continue (or pay a monthly/yearly subscription).
Then there’s interface familiarity. If you’re a developer or data scientist, it’s highly likely you’ve worked with GitHub in the past. The thing is, you already know what it does, and how the user interface behaves, so the learning curve is almost non-existent.
And finally, GitHub allows you to add a custom domain to your website/app deployed through GitHub Pages. This will give a professional and unique feel to your app, and the only hassle is setting up CNAME records (which takes a couple of seconds). If you don’t want or need a custom domain, GitHub pages will automatically assign one for you in the format of https://username.github.io/repository-name.
That’s only a handful of reasons, but all of them are bulletproof.
But how do you actually go about deploying Shiny for Python app to GitHub pages? That’s what you’ll learn later in the article, but first, let’s make a dummy deployment to ensure you get the concepts right.
Your First GitHub Pages Deployment
This section will walk you through the process of deploying a dummy index.html to GitHub pages. If you’re already familiar with the deployment steps, feel free to skip this section.
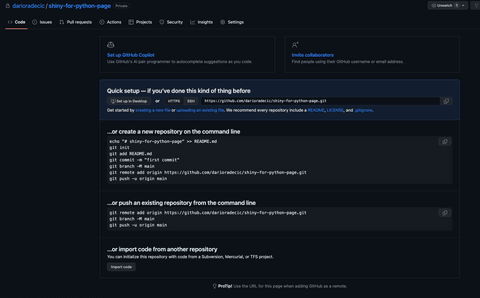
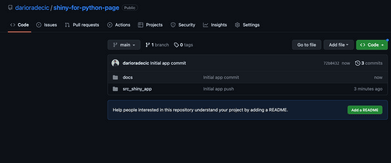
First things first, create a new public GitHub repository. We’ve created a private one by accident and had to make it public later. If you also have a private repository, convert it to public by going into repository Settings, scrolling down to Danger Zone, and clicking on the Change visibility button.
Image 2 – Creating a GitHub repository
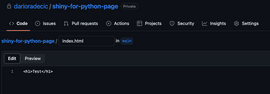
Once you have the repository, create a index.html file in the root and write some dummy HTML code. We’ve included a h1 title. This is needed just to verify the deployment works:
Image 3 – Creating a dummy index.html file
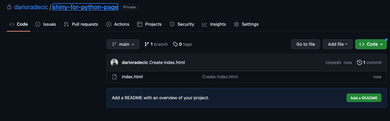
This is how your repository root page should look after creating the HTML file:
Image 4 – Repository contents
To configure the deployment via GitHub pages, click on repository Settings and select Pages from the left sidebar.
Make sure your options match the ones you see below and click on the Save button:
Image 5 – Configuring GitHub Pages build
Now give it a couple of seconds to actually deploy your code, and then navigate to the following URL:
https://username.github.io/repository-name
Of course, swap username and repository-name with the values matching your case. For us, the final URL is:
https://darioradecic.github.io/shiny-for-python-page
Here’s what you should see once you open your URL:
Image 6 – Testing GitHub Pages deployment
Yup – the deployment works. Let’s now switch to Shiny for Python and see how to deploy it to GitHub pages.
Shiny for Python Deploy on GitHub Pages
The tricky part about Shiny apps is that they’re not static, and GitHub pages work only on static pages. Luckily, Shinylive is here to save the day. It will essentially allow you to run Shiny for Python apps without a Python server.
But first, let’s create a Shiny for Python app.
Creating a Shiny for Python App
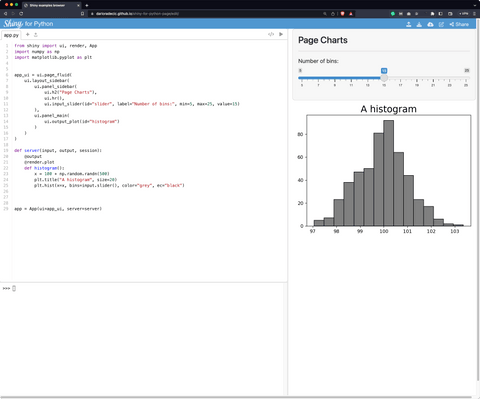
Create a new Python file named app.py and paste the following code inside it:
from shiny import ui, render, App
import numpy as np
import matplotlib.pyplot as plt


app_ui = ui.page_fluid(
    ui.layout_sidebar(
        ui.panel_sidebar(
            ui.h2("Page Charts"),
            ui.hr(),
            ui.input_slider(id="slider", label="Number of bins:", min=5, max=25, value=15)
        ),
        ui.panel_main(
            ui.output_plot(id="histogram")
        )
    )
)

def server(input, output, session):
    @output
    @render.plot
    def histogram():
        x = 100 + np.random.randn(500)
        plt.title("A histogram", size=20)
        plt.hist(x=x, bins=input.slider(), color="grey", ec="black")


app = App(ui=app_ui, server=server)
This app allows users to change the number of bins in a histogram which is then automatically rerendered as soon as the change happens. You can run the app by executing the following shell command:
shiny run app.pyHere’s what you’ll see when you open it up:
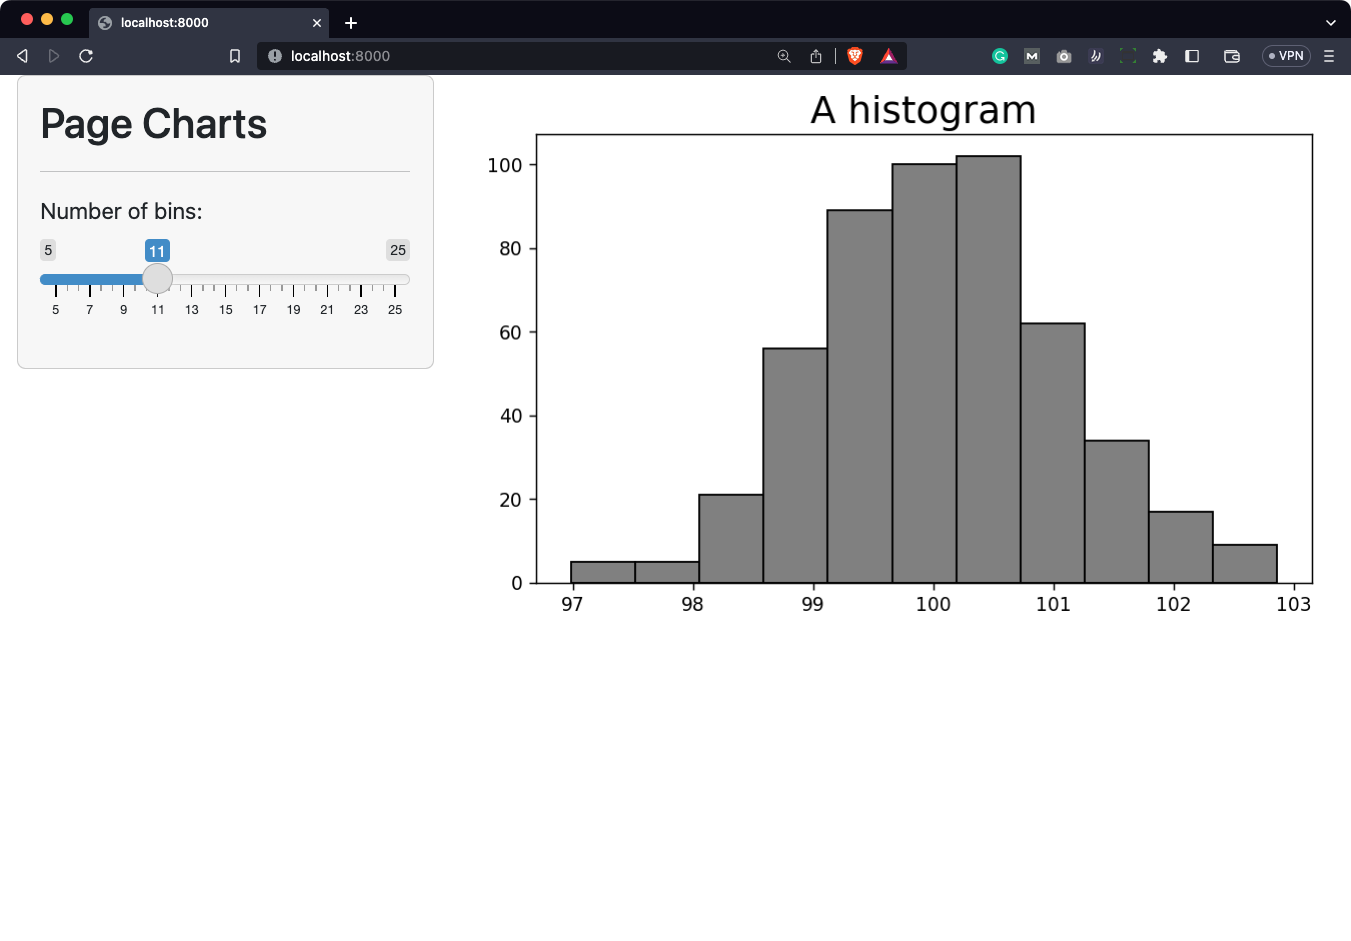
Image 7 – Running a Shiny for Python app locally
That’s your Shiny app – now, let’s make it static with Shinylive.
Exporting and Serving a Static Site Locally
Shiny for Python allows you to use Shinylive – an experimental mode in which applications can run entirely in a web browser, eliminating the need for a separate server running Python. Keep in mind that this feature is experimental, and will likely change in the future.
The first step to getting started with Shinylive is to install it. Run this line from the terminal:
pip install shinyliveOnce installed, generating a static Shiny for Python app is just a matter of a couple of additional commands.
The first one is here for precaution since some users can have trouble with Shinylive due to caching:
shiny static-assets remove
Image 8 – Removing static assets
Once static assets are removed, you can export the Shiny application. We’ve cloned the GitHub repository and removed the index.html file. Our app.py is located in the folder named src_shiny_app. The static app must be stored in a folder named docs. It’s a requirement made by GitHub pages, so keep it in mind.
The following command exports the Shiny for Python application from the src_shiny_app directory to a folder named docs:
shinylive export src_shiny_app docsMake sure to tweak the command so it works with your folder structure. Once done, here’s what you should see:
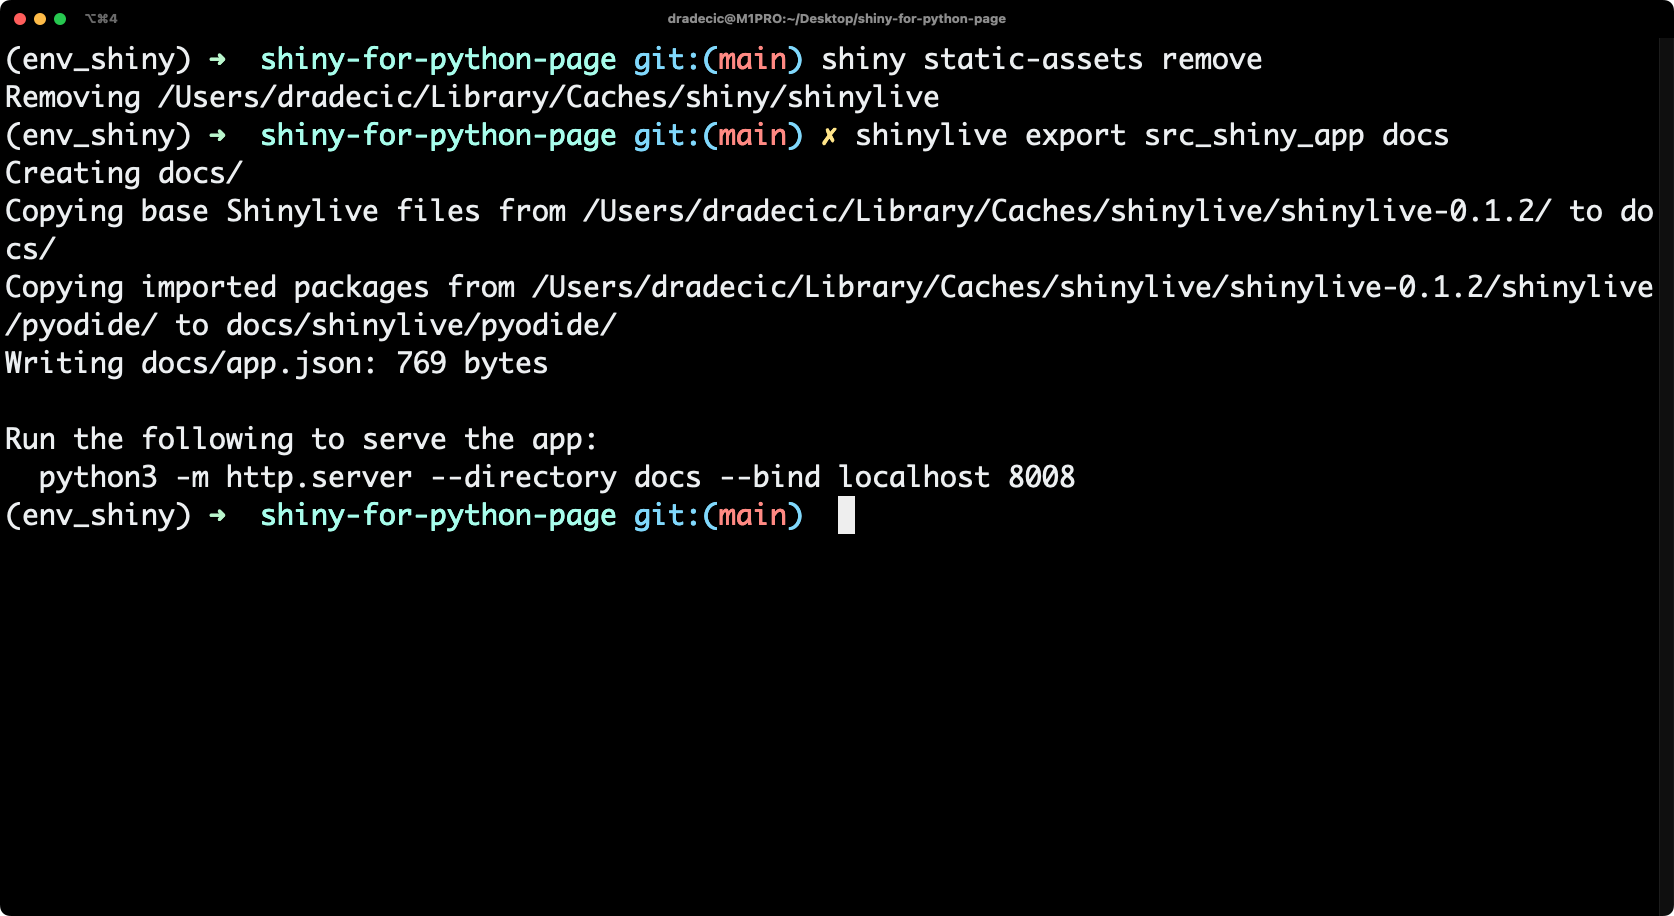
Image 9 – Exporting a static Shiny for Python app
And now to test if the static app works correctly, you can run the following command to launch it locally:
python -m http.server --directory docs --bind localhost 8008
Image 10 – Running a static Shiny for Python app locally
This will launch a web server with your app running on port 8008:
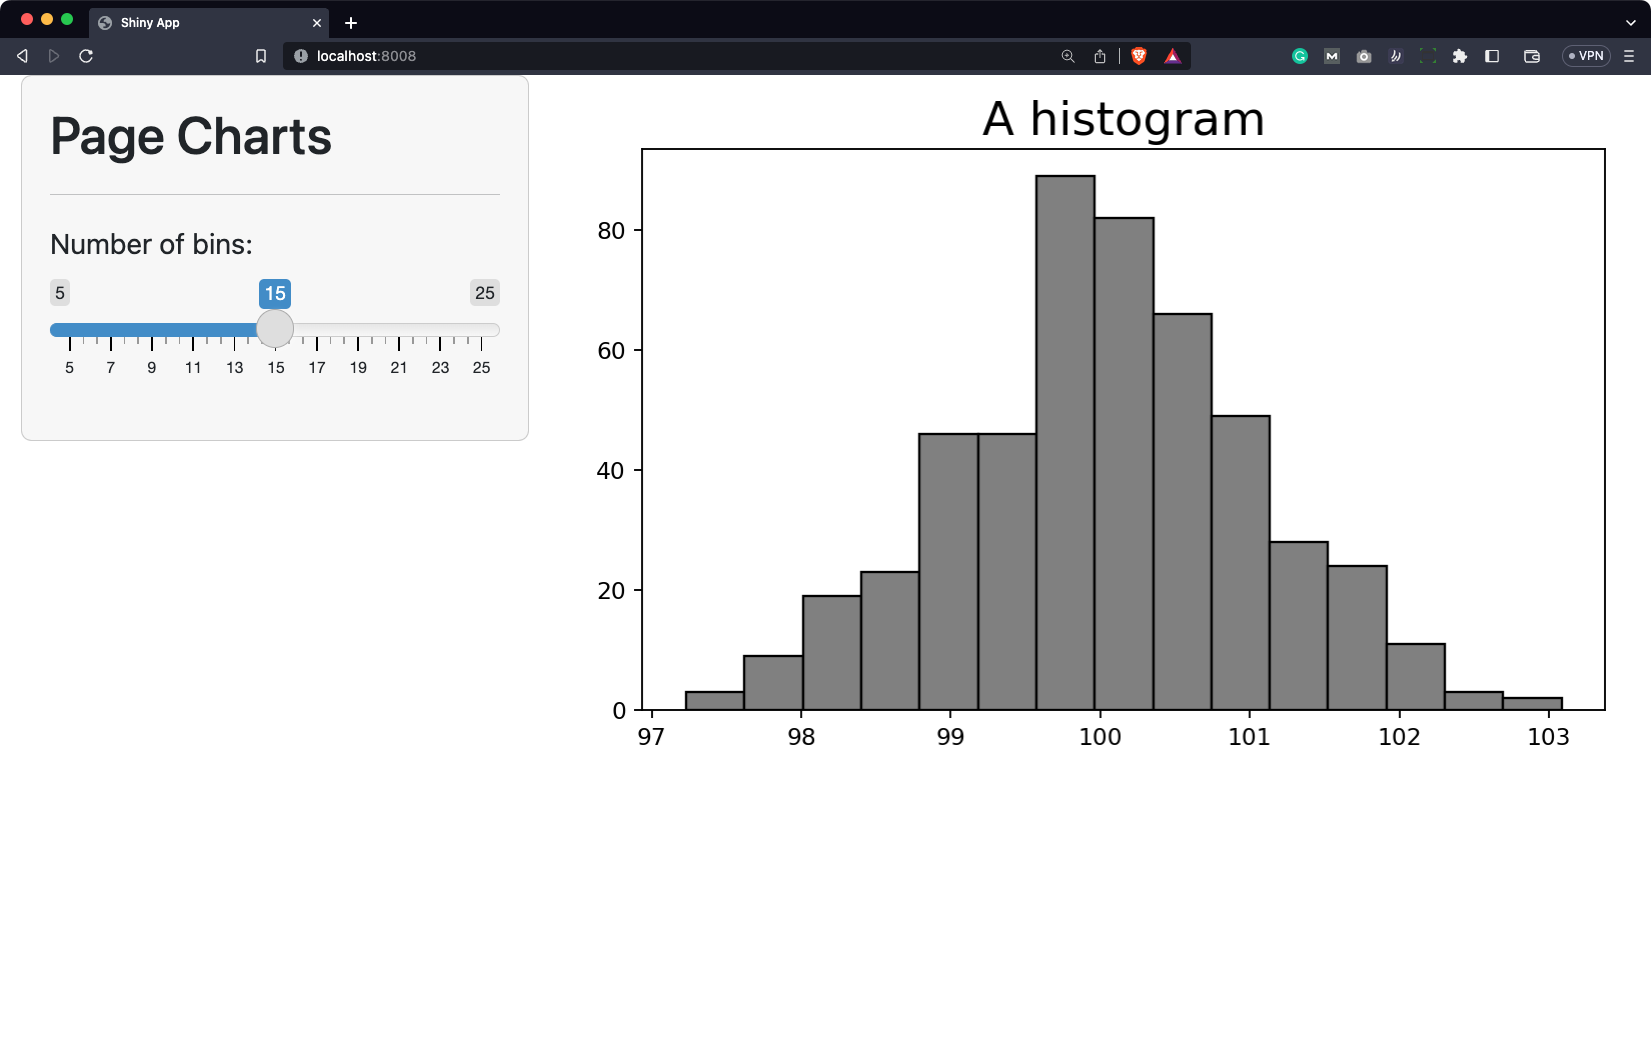
Image 11 – Running a static Shiny for Python app locally (2)
Neat – the app works when exposed from a static directory, which means we have everything needed to tackle deployment.
Deploying Shiny for Python App to GitHub Pages
Once you’ve made all the changes, you can simply make a commit and push the changes to the remote repository. Here are the commands:
git add .
git commit -m "App push"
git push -u origin main
Within seconds, you’ll get a similar-looking terminal screen:
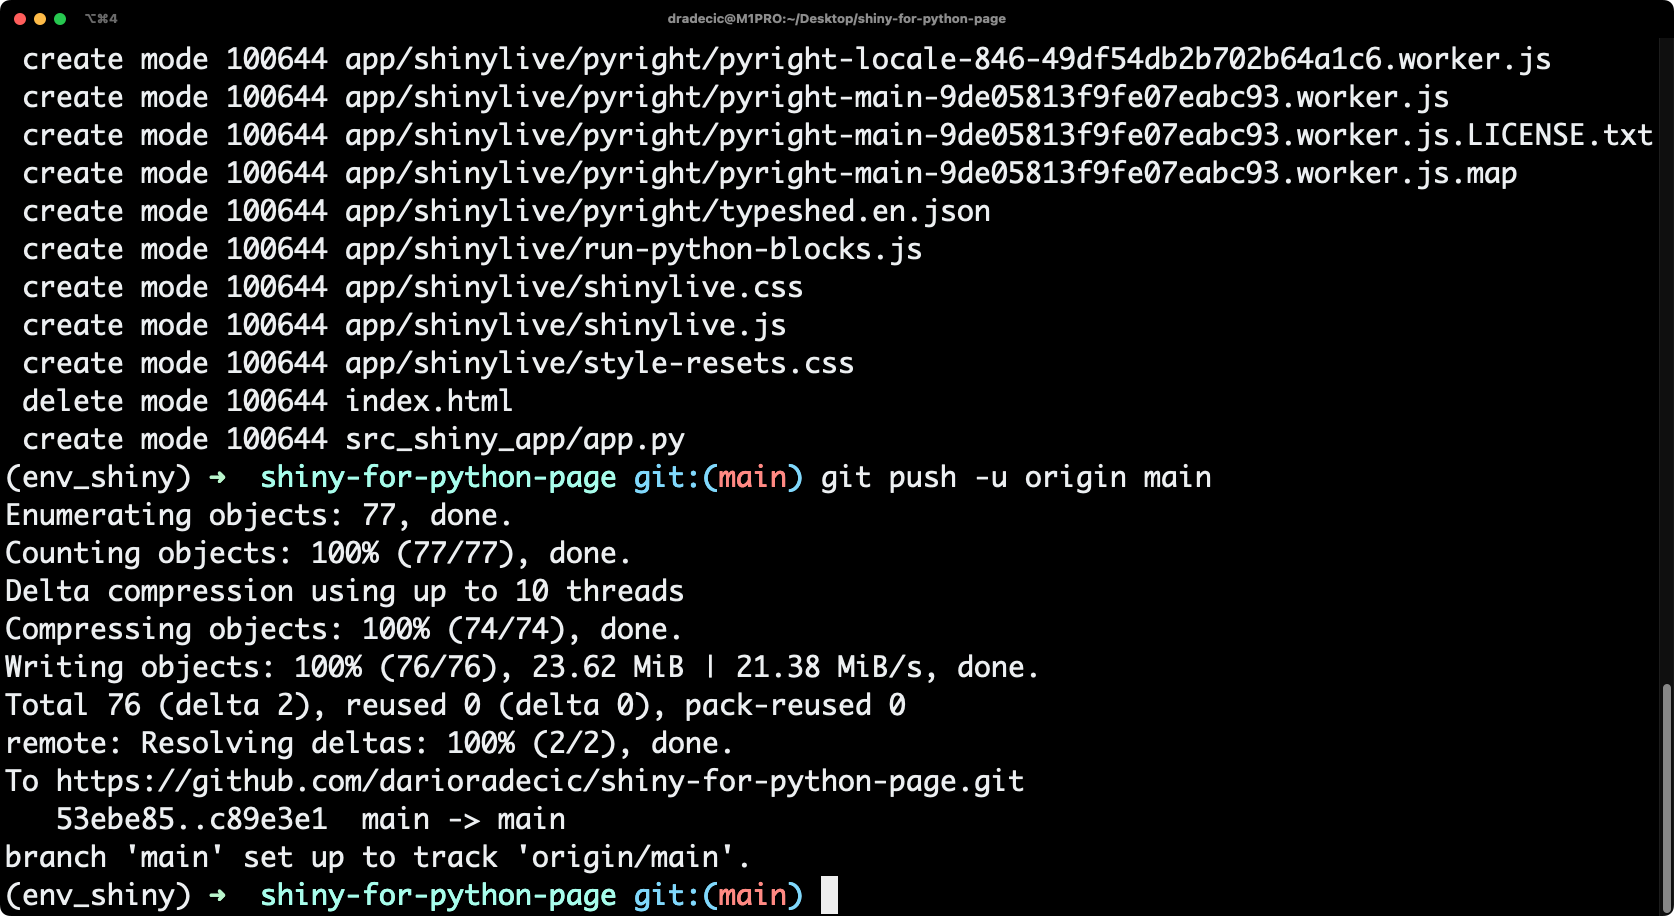
Image 12 – Pushing changes to a remote repository
If you refresh your GitHub repo page, you’ll see two new folders added – docs which contains the static app, and src_shiny_app which contains the Python scripts. The latter is irrelevant here since all deployment tasks are handled from the docs folder, but it’s always a good idea to keep track of the source Python code:
Image 13 – Contents of a GitHub repository
Almost at the end! The next step is to change the build and deployment options for GitHub Pages. Head over to repo Settings, choose Pages from the left sidebar, and make sure that the deployment goes from the /docs folder. Once done, click on “Save”:
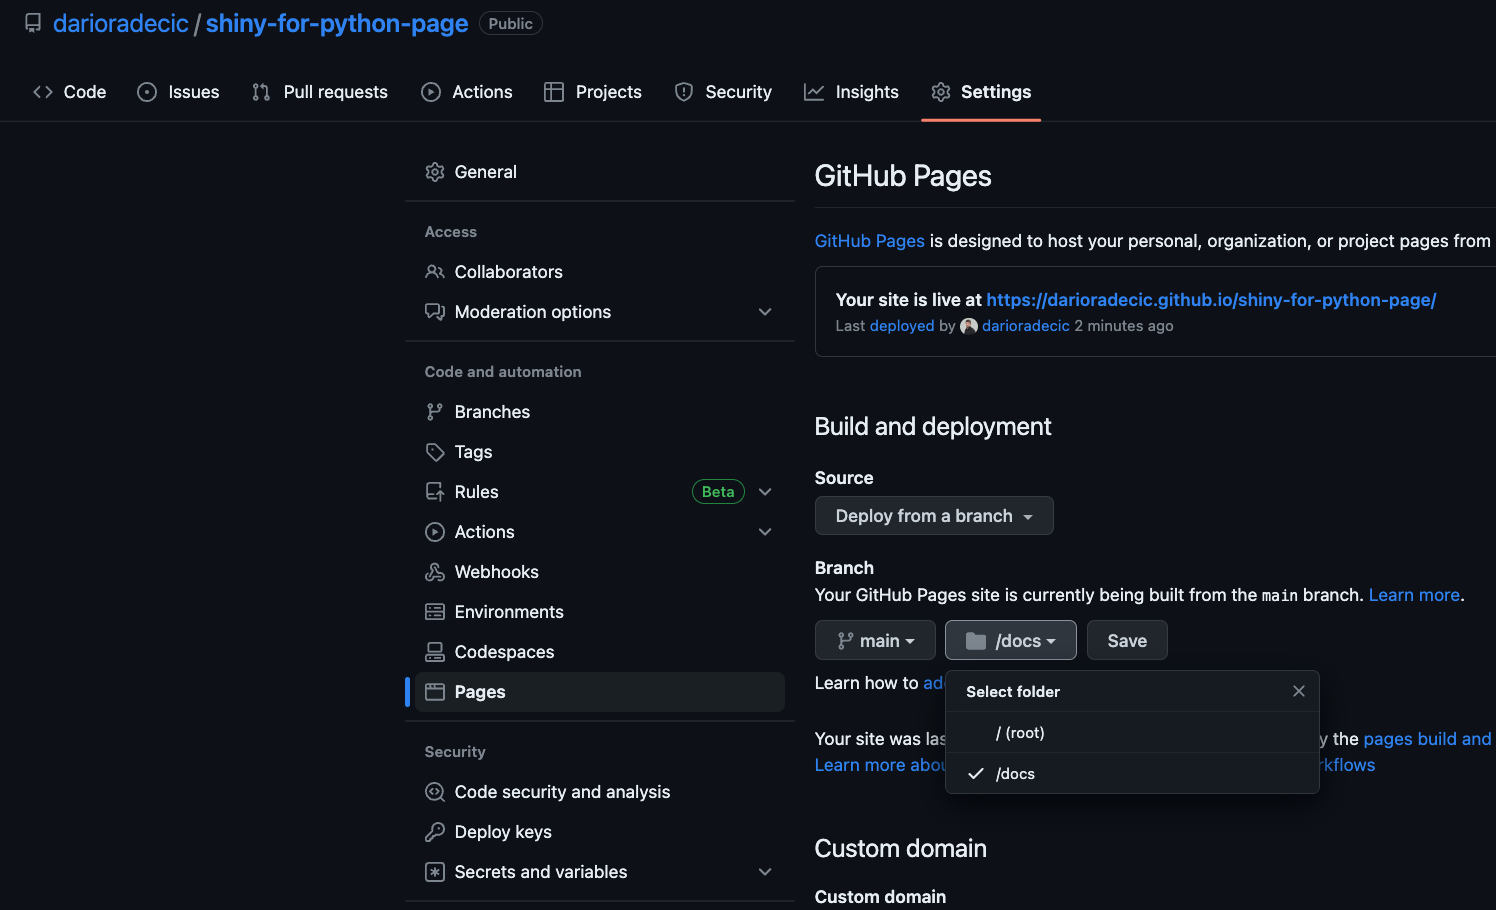
Image 14 – Changing the build directory
This will trigger action for building and deploying your app. You can see it in the Actions tab:
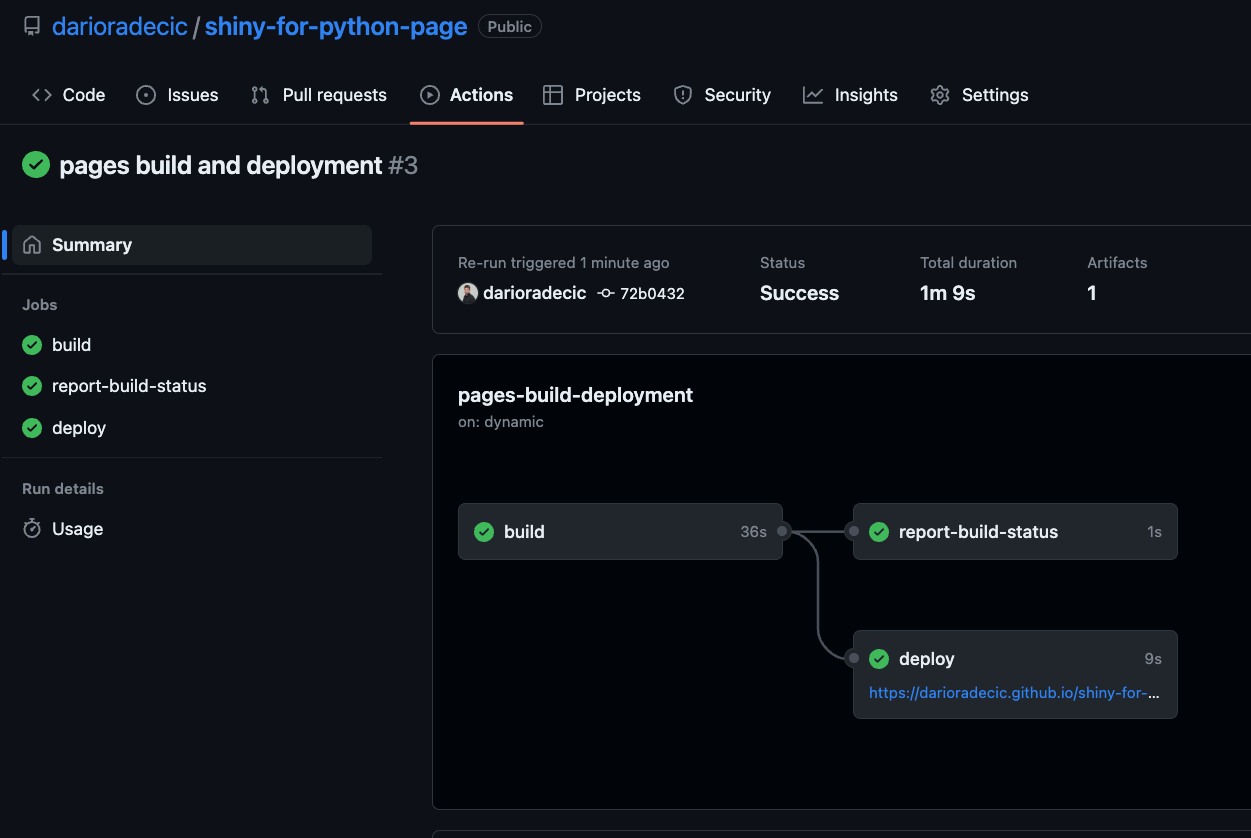
Image 15 – GitHub actions pipeline
As soon as you get all green checkmarks, it means your app is deployed. Click on the link provided to test it out:
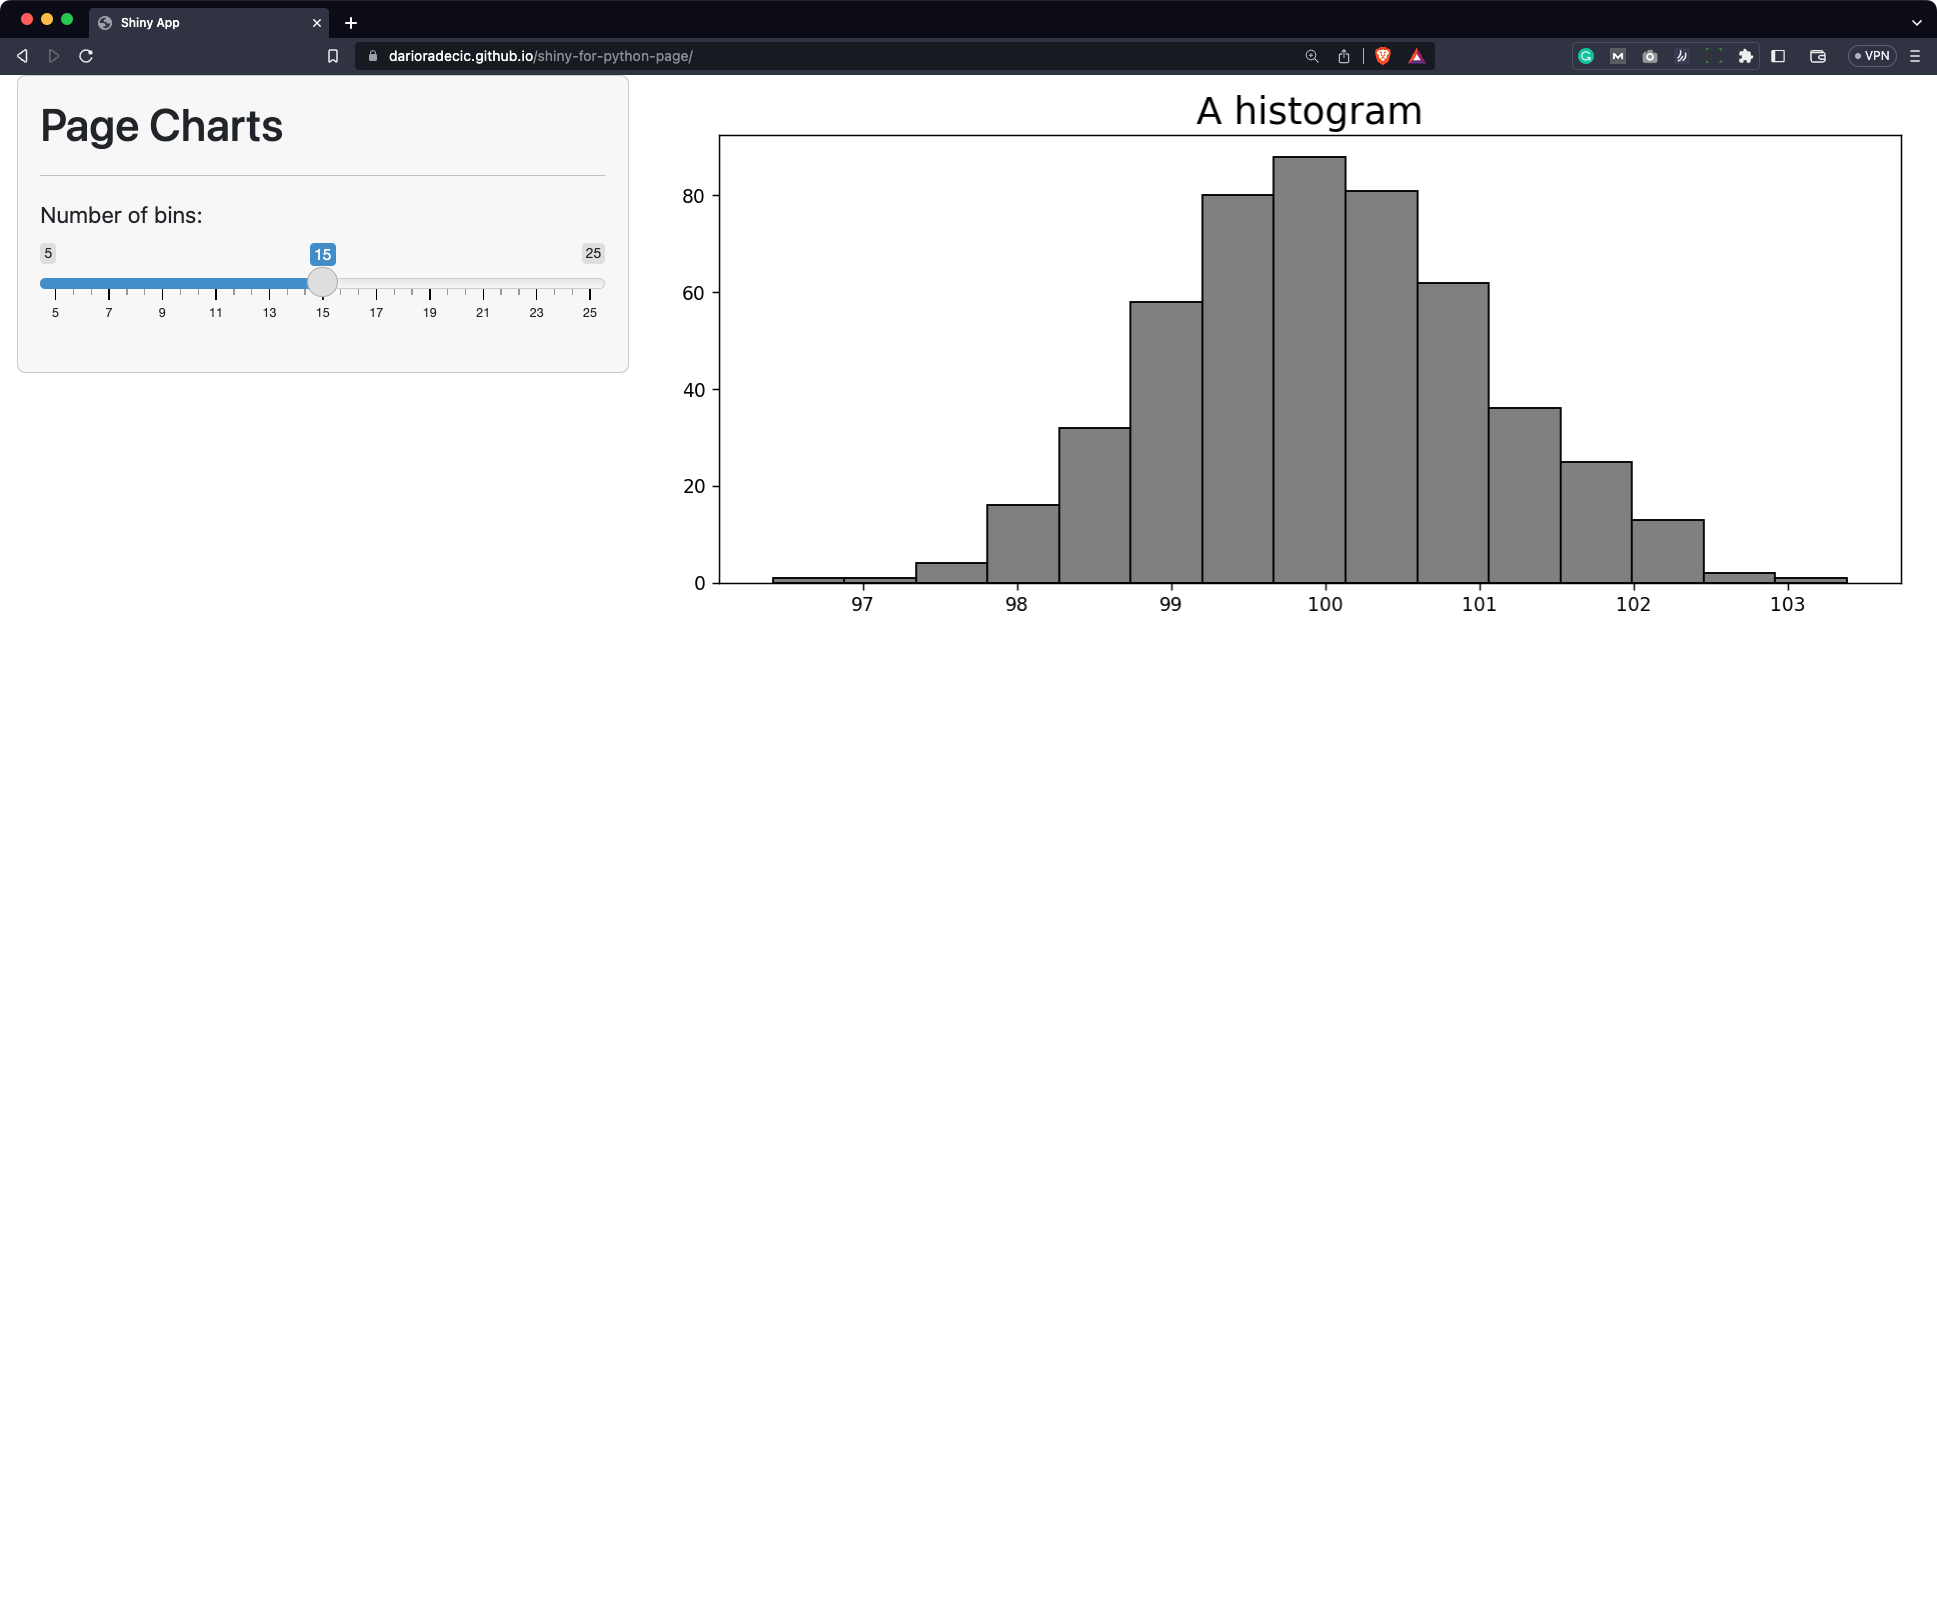
Image 16 – Deployed Shiny for Python application
Judging by the URL, it seems like the deployment worked like a charm!
Shinylive allows you to take your app a step further and modify the code on the go. Simply append /edit to your application’s URL and you’ll get this window:
Image 17 – Deployed Shiny for Python application (2)
You can see your code on the left and the rendered dashboard on the right. You can make any changes to the code, hit the “Run” button, and see how it affects the end product.
Summing up Shiny for Python Deploy
To be perfectly honest, we think deploying Shiny for Python apps with GitHub pages is one of the simplest – if not the simplest – ways to get your app out on the web. It costs you absolutely nothing, provided that you’re okay with your application code being visible to the entire world.
There are still many deployment options in Shiny for Python, so stay tuned to the Appsilon blog to learn all of them!
What’s your favorite way of deploying Shiny applications? Either R or Python. Please let us know in the comment section below.
Is R Shiny better than Shiny for Python? Read our detailed comparison and find out.
Contact Us
Project Manager

Get Updates
Subscribe to Shiny Weekly Newsletter
Join 4000+ Shiny enthusiasts to see the latest Shiny news from the R community.
Also on deploy shiny apps


How to Deploy a Rust API to Posit Connect

29 August 2023

How to Share R Shiny Apps – Top 3 Methods Explained
22 February 2022